Re-formatting or Re-imaging a computer involves erasing the existing system and reinstalling the operating system (OS). This process can resolve issues, prepare a computer for a new user, or ensure a clean setup.
Before You Begin
- Backup Data (skip this if you’re reimaging a new computer): Ensure important files are backed up to an external drive or cloud storage.
- Obtain Windows 11 Installation Media:
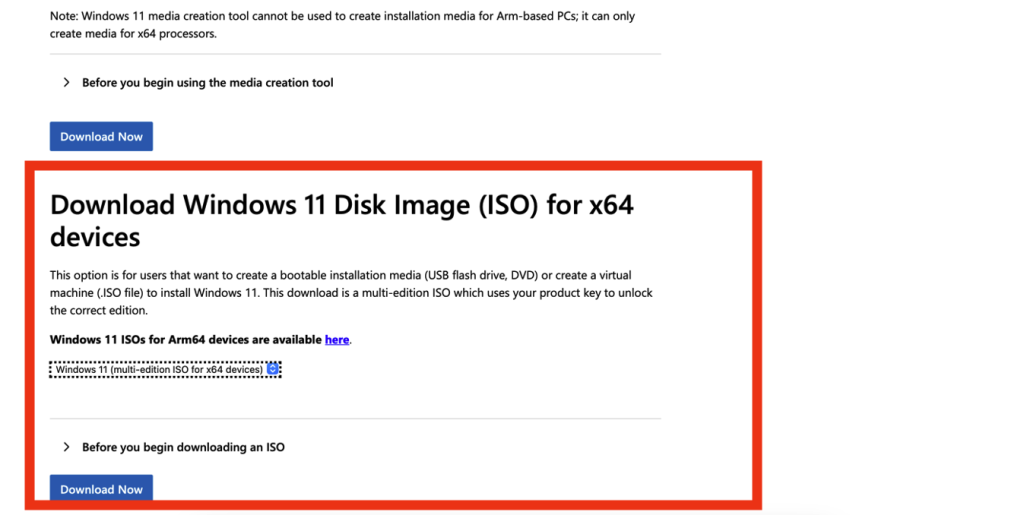
- Download the Windows 11 iso from Microsoft’s official website. (Refer below screenshot to download the iso file).
- Create a bootable USB drive or DVD with at least 8GB capacity. You may use Rufus to make a bootable device.
- Gather Necessary Details:
- Product key (if required).
- Driver backups for hardware (optional, but useful).
Reimaging/Reformat Steps (3 Phases)
Once downloaded the ISO file from Microsoft portal and USB or DVD bootable is ready below are the steps on how to re-install the Windows OS.
Phase 1: Boot from Installation Media
- Insert the bootable USB drive or DVD into the PC. (In this article we’re using USB drive).
- Restart the PC and enter the Boot Menu (press F2, F9,F12, ESC, or DEL, depending on your PC manufacturer).
- Select the USB or DVD drive as the boot device. (if you could not find the USB or DVD in boot selection you might need to check in BIOS, check on boot settings *settings options depending on your PC manufacturer. (Drop a comment if you’re not sure on this).
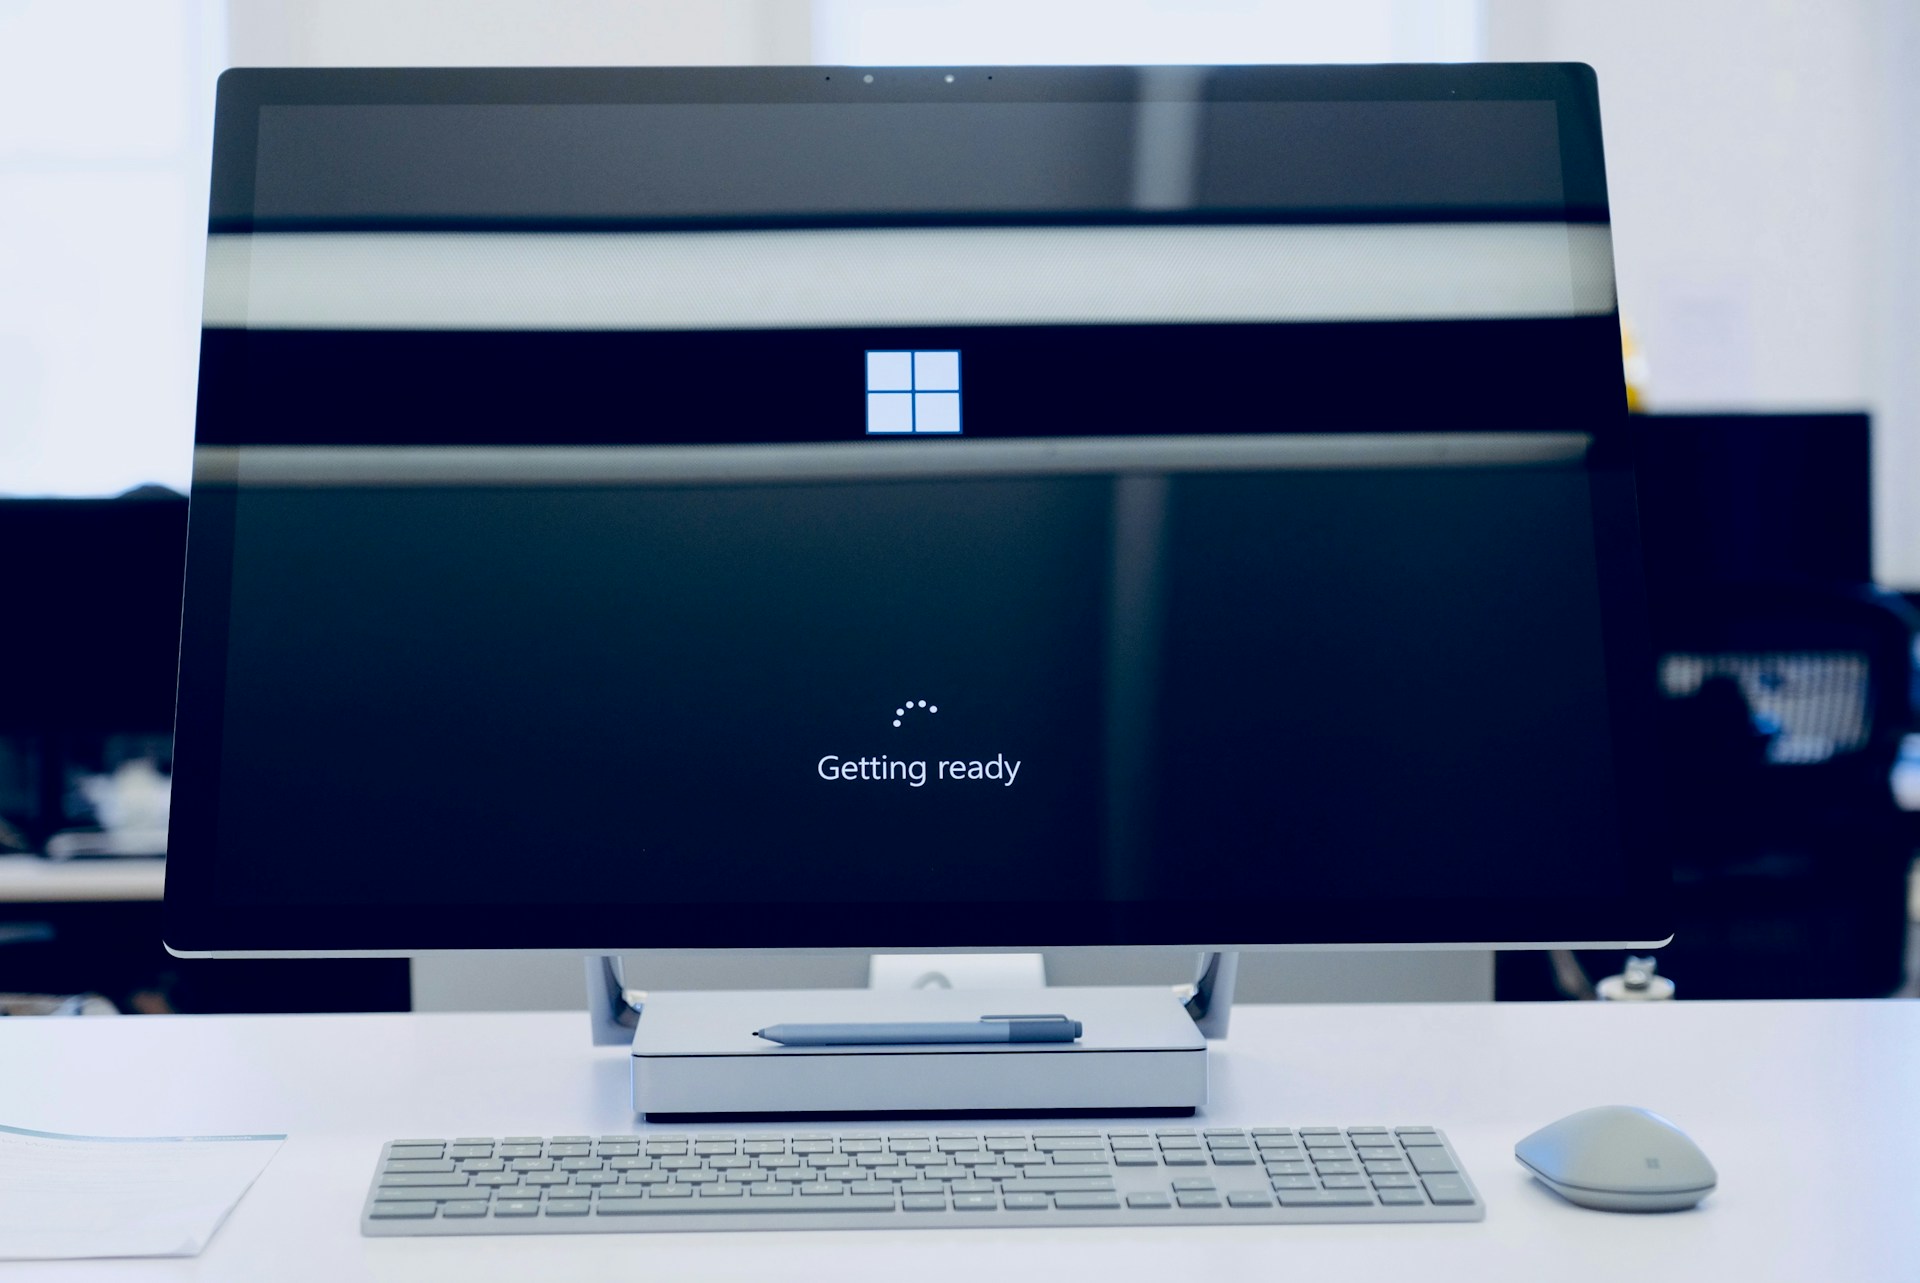
- Once you booted into the USB or DVD, you will be navigated to the above screen.
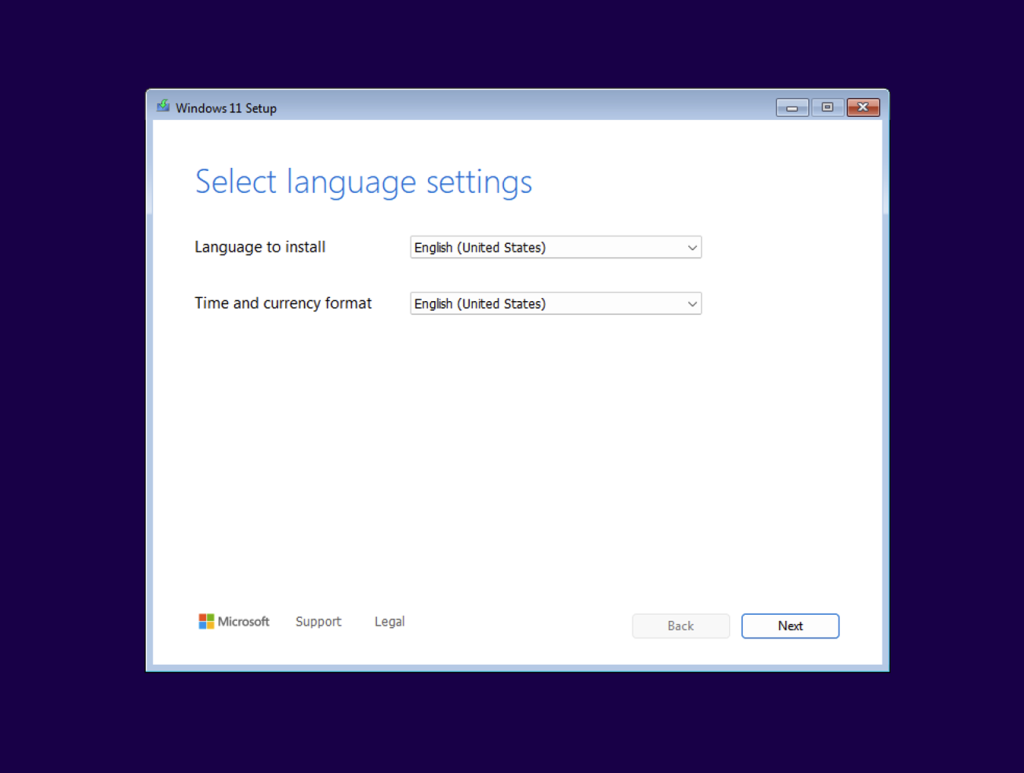
Please note that in this article we are using: Windows 11 24H2. - Select Language and Time as you wish and click Next.
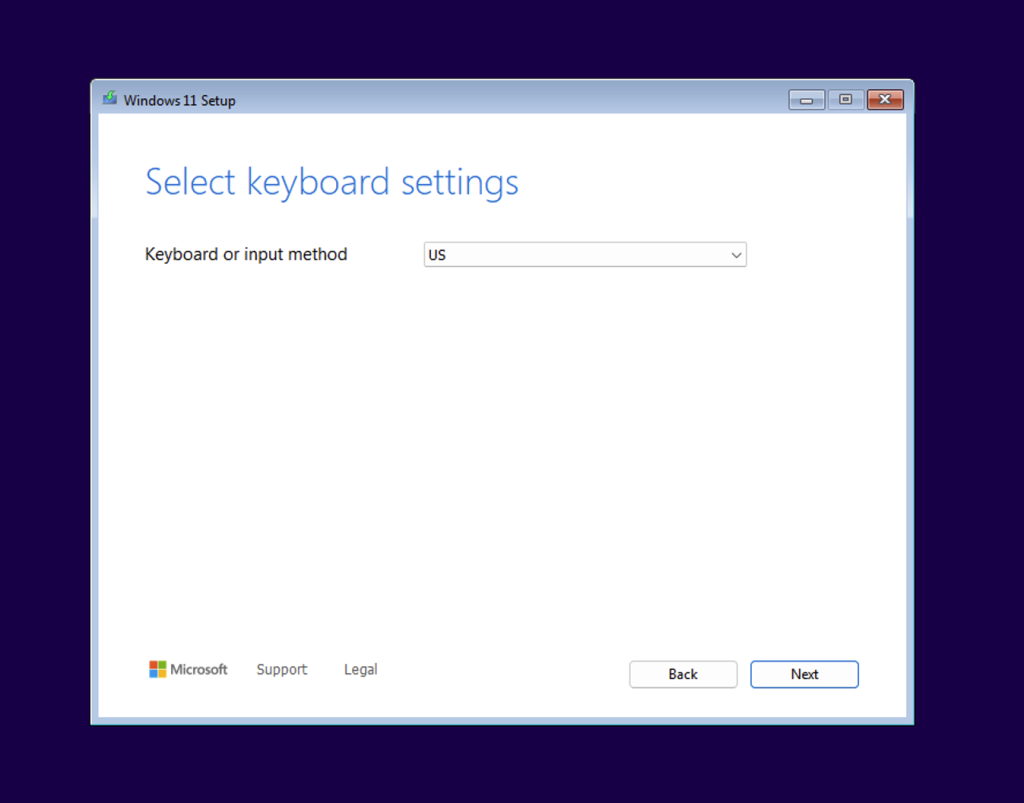
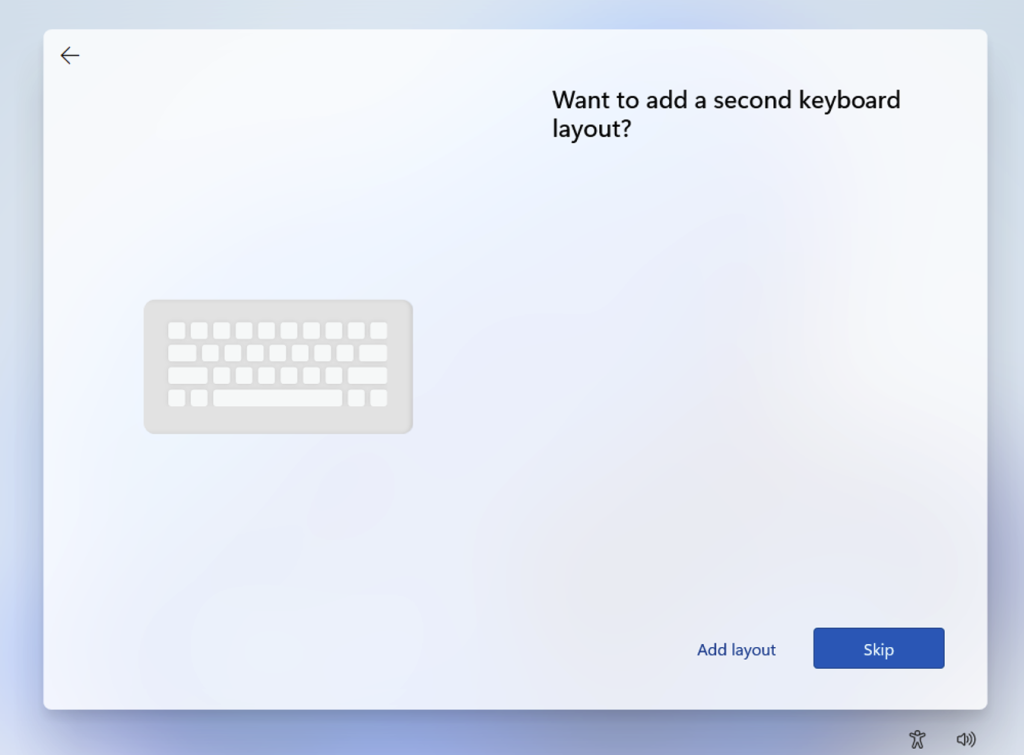
- Select the keyboard settings and click Next.
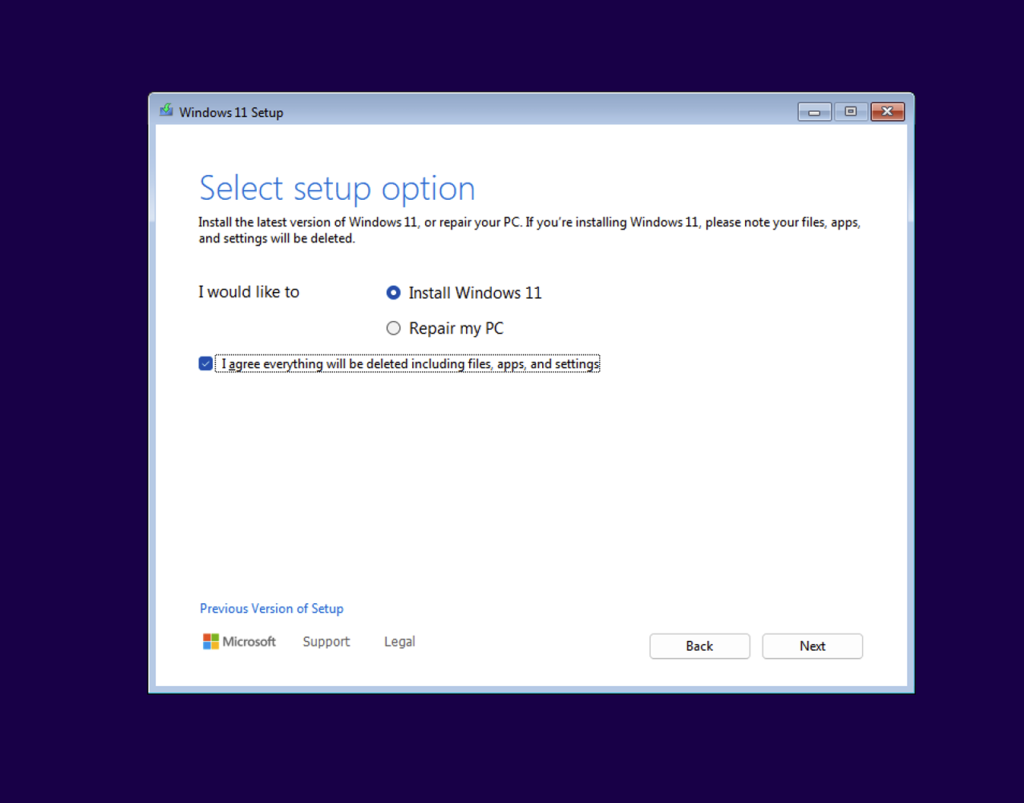
- Tick on ‘Install Windows 11’ and ‘I agree everything will be deleted including files, apps, and settings.
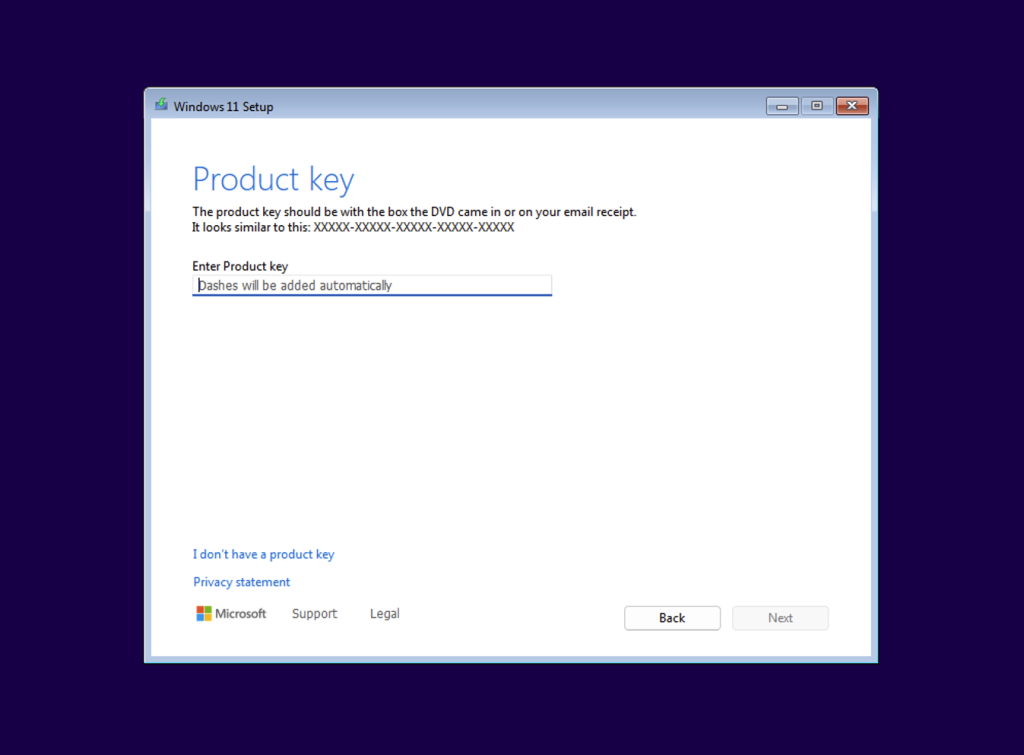
- Enter the product key if you have it.
- If you do not have it right now you may click ‘I don’t have a product key’ if you would like the system to activate automatically.
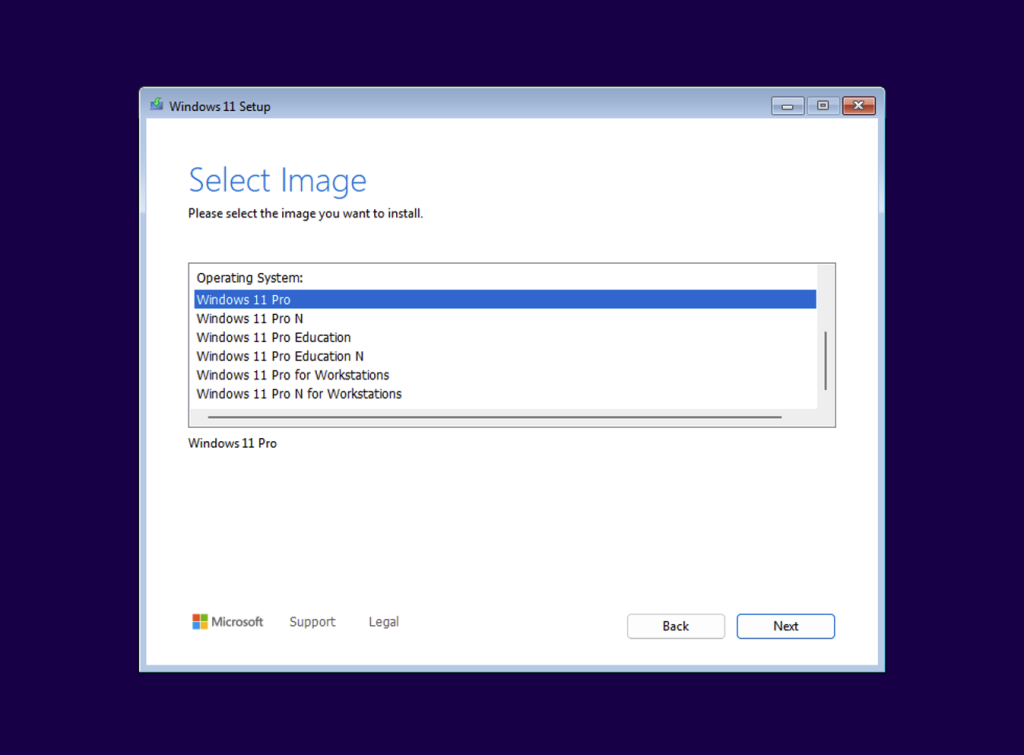
- Depending on your product key, select the version of Windows you would like to choose. If you were clicking on ‘I don’t have a product key’ you may choose any of the versions. Please read about the versions of Windows you are not sure which to choose.
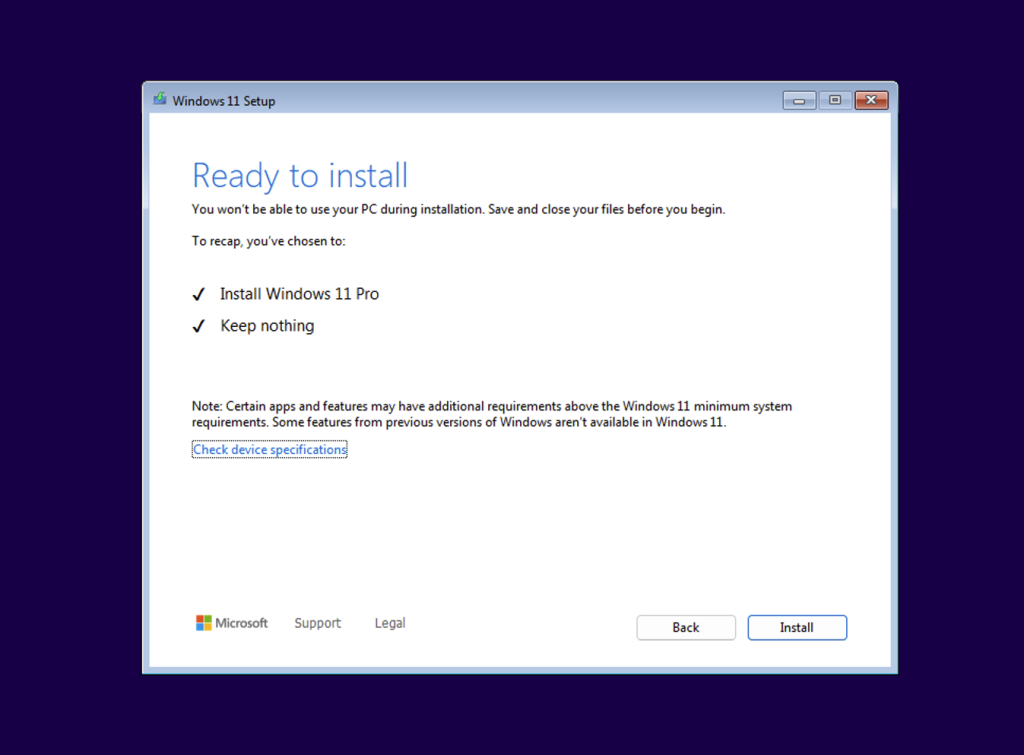
- For this article, we’re choosing the Windows 11 Pro.
- Click Next after you have chosen the right one.
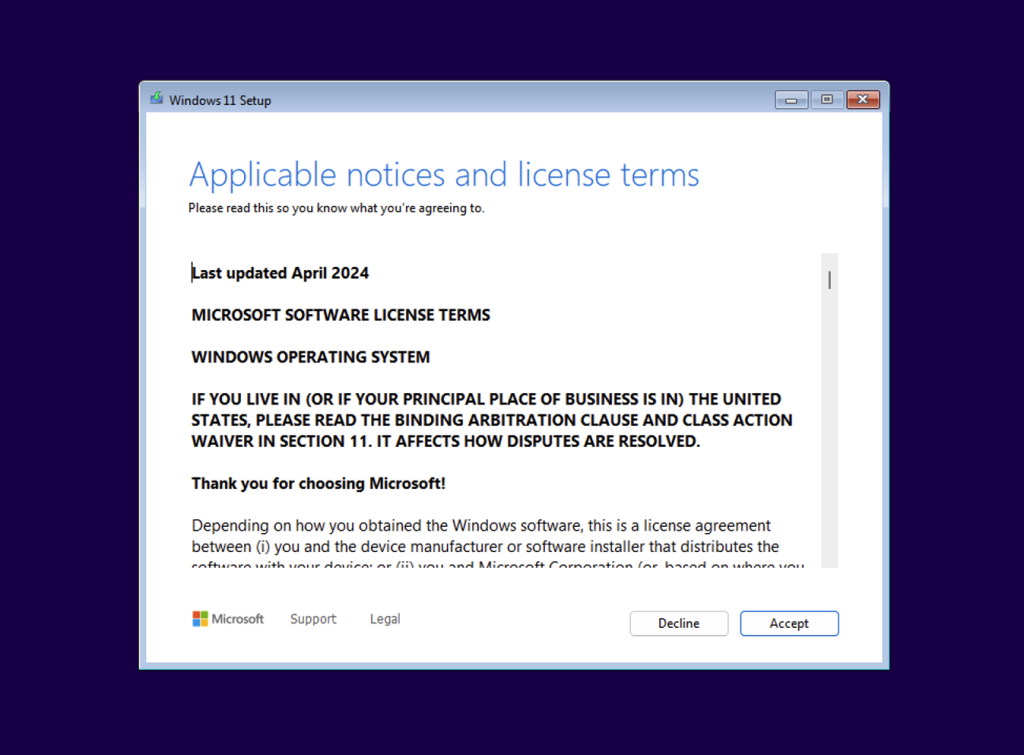
- Hit the Accept button.
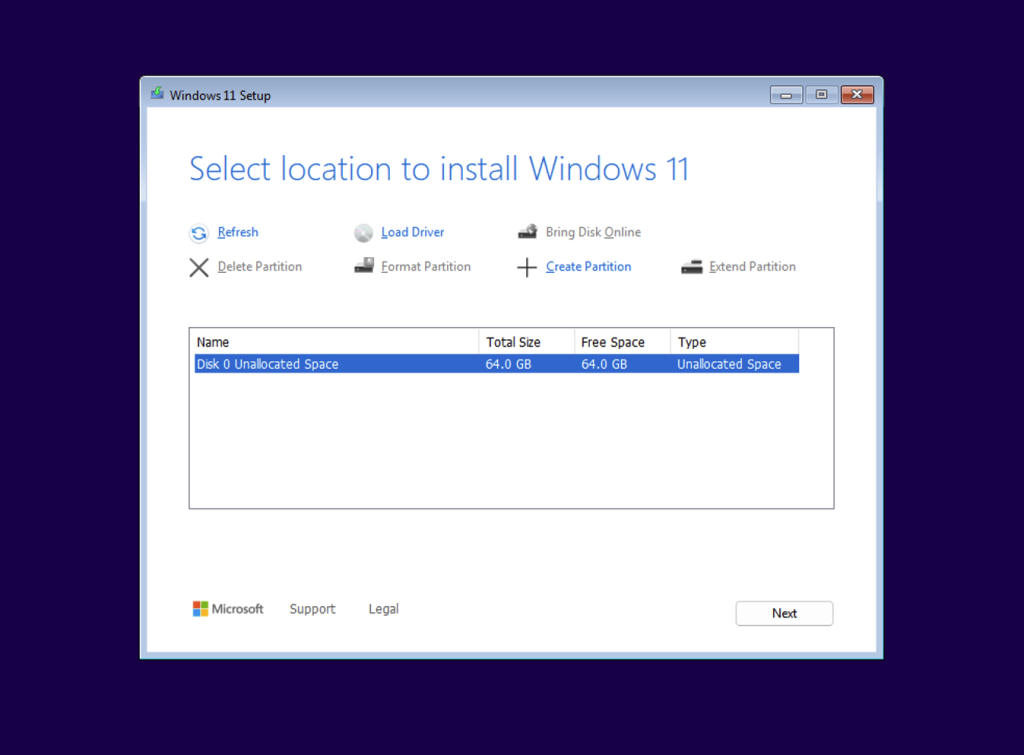
- This is the list of disks, where you have to choose a disk to install the Windows image.
- In this case, disk 0 is the local disk of the computer.
*The Partition Drive
– Select the drive where you want to install Windows.- Delete existing partitions (if reimaging completely).
- Select the disk and click Next.
- Click Next to proceed with the Windows installation.
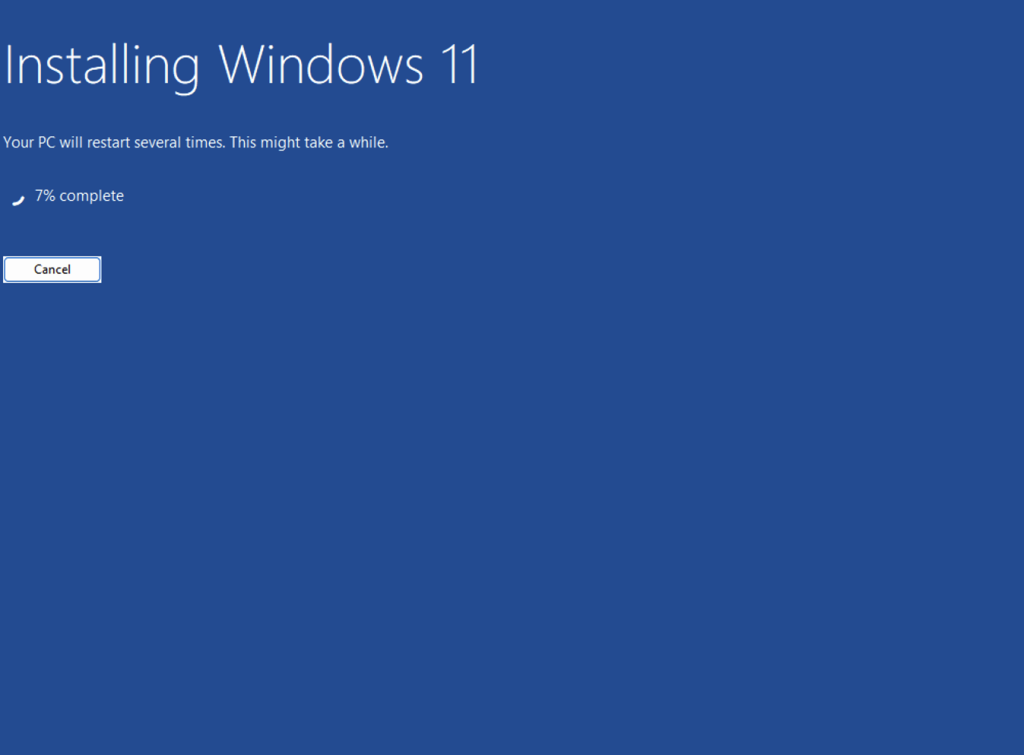
- Once the OS installation finished, the system will be rebooted automatically.
- Make sure if you are using a notebook stay connected with the power charger.
Phase 2: Windows Setup [Out-of-Box Experience (OOBE)].
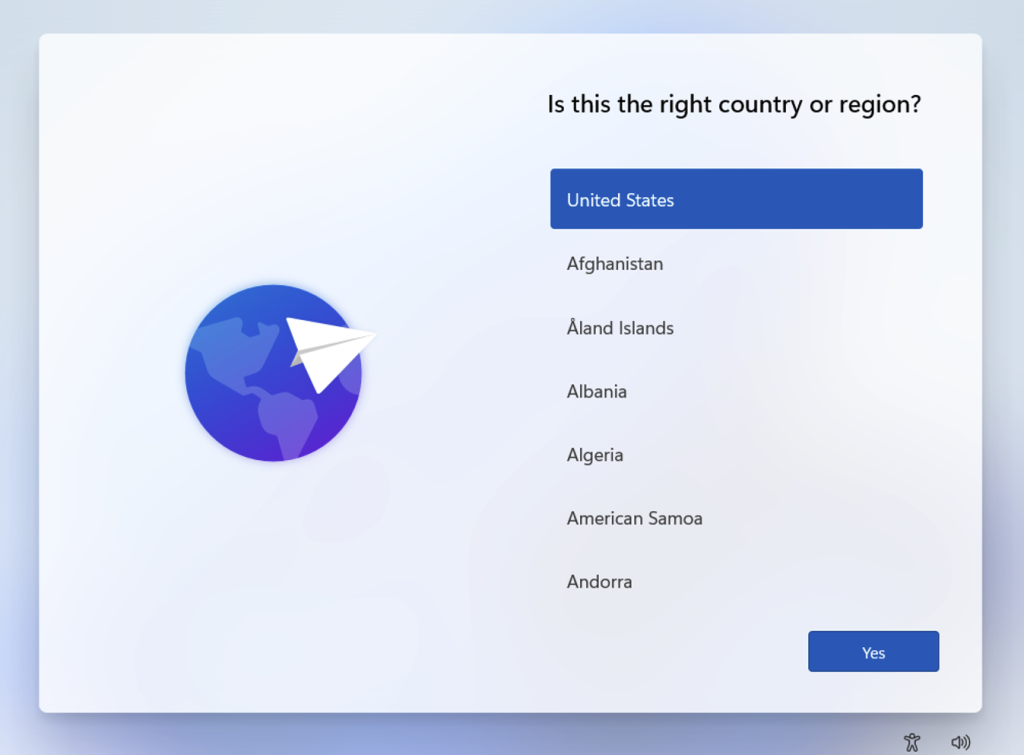
- Once the system rebooted and finished the installation, follow the Out-of-Box Experience (OOBE). In this phase you will be settings up:
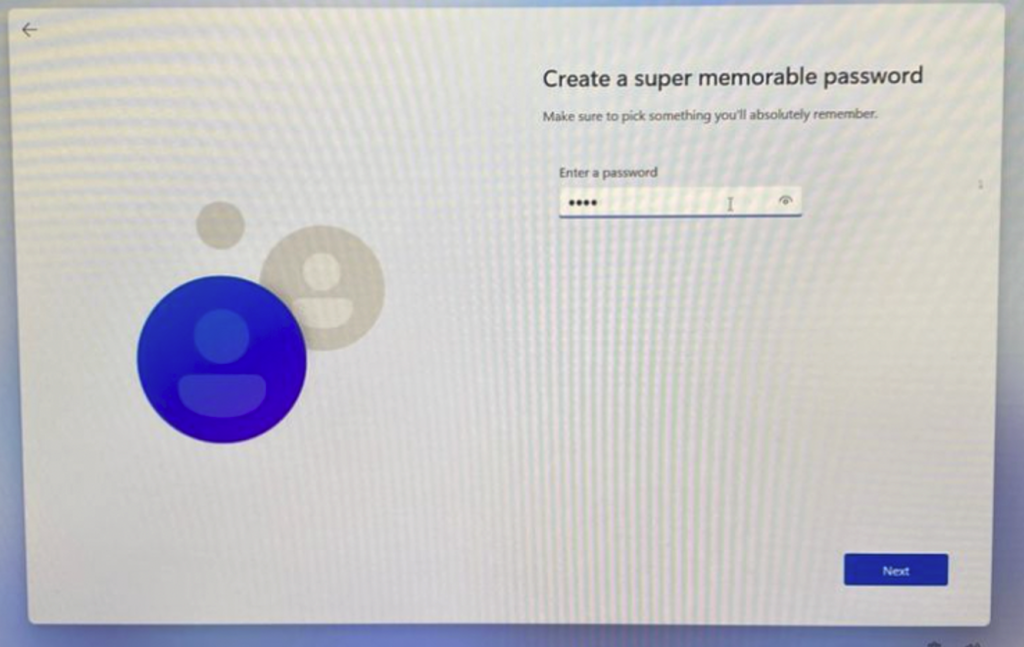
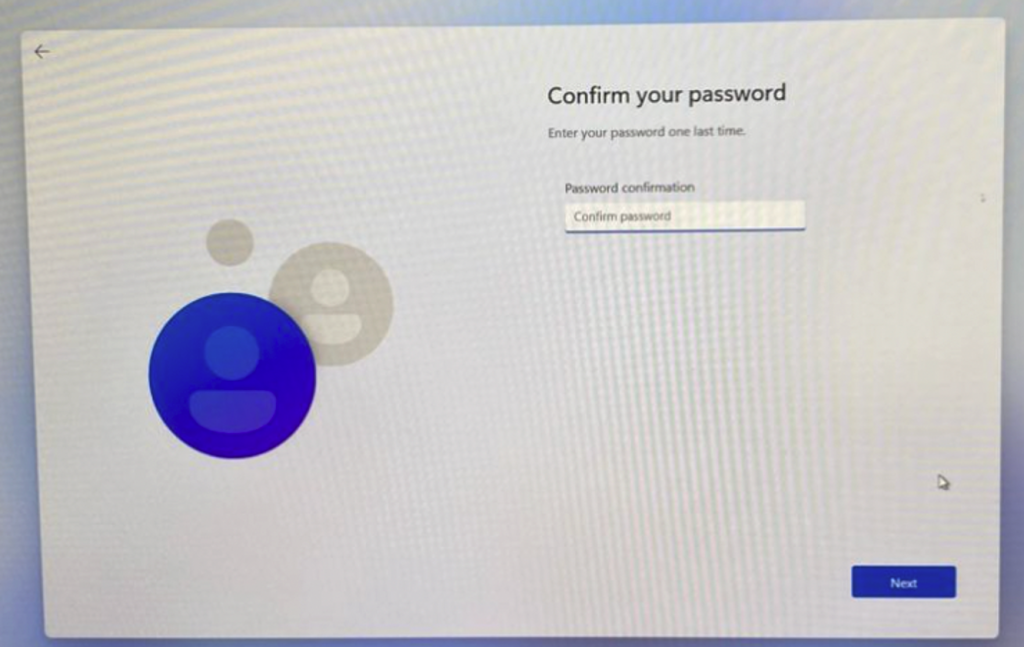
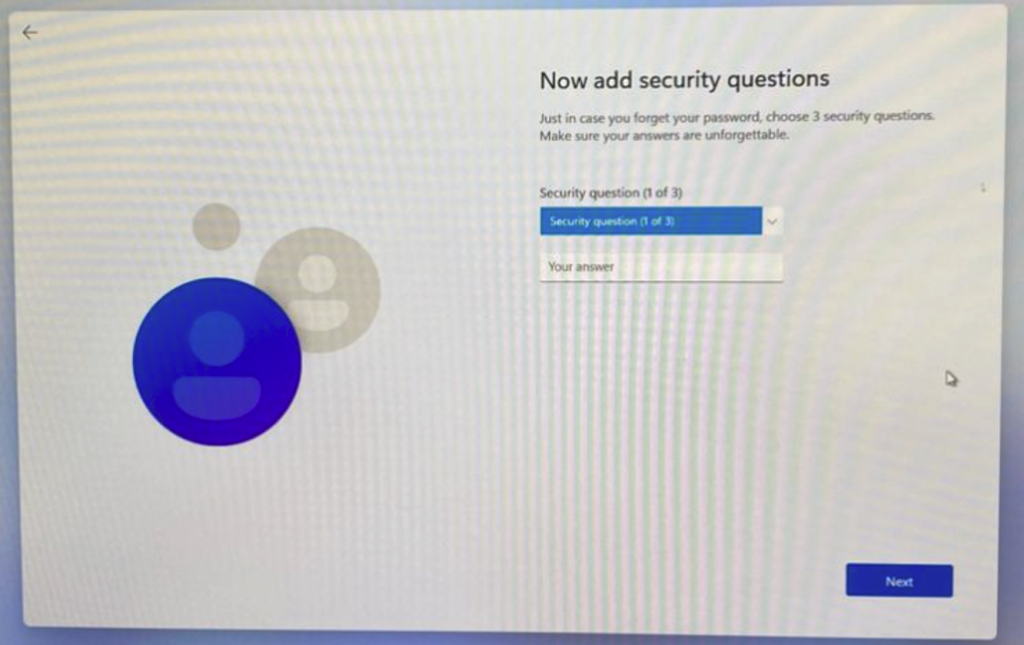
- Set up a Microsoft account or local account.
- Choose privacy settings.
- Configure additional preferences.
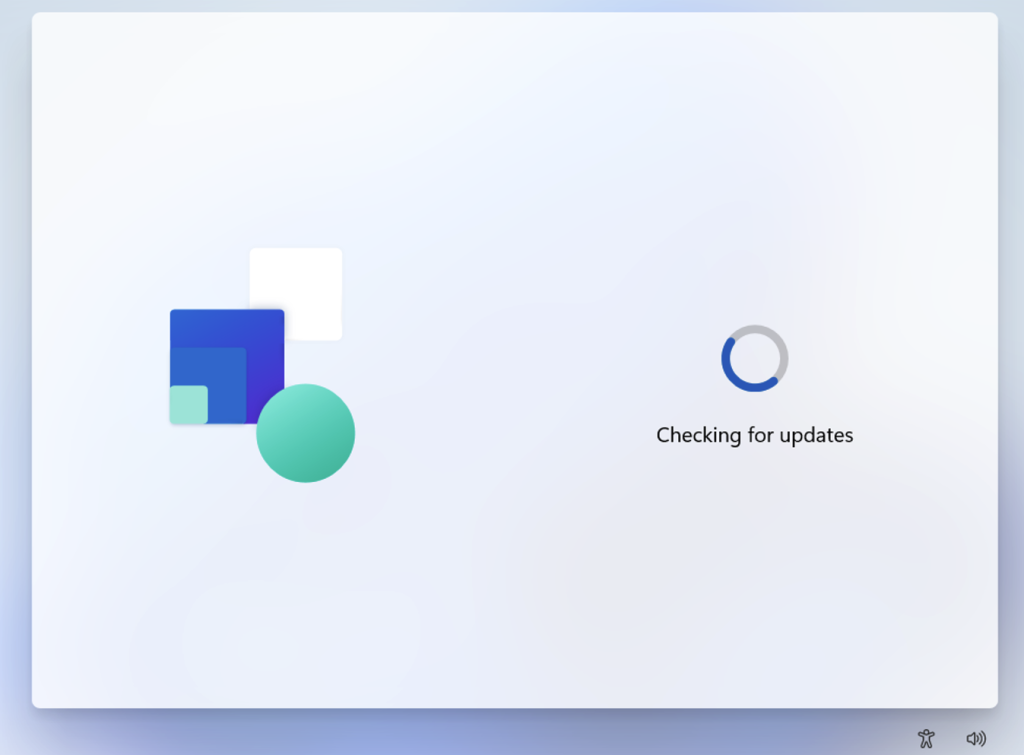
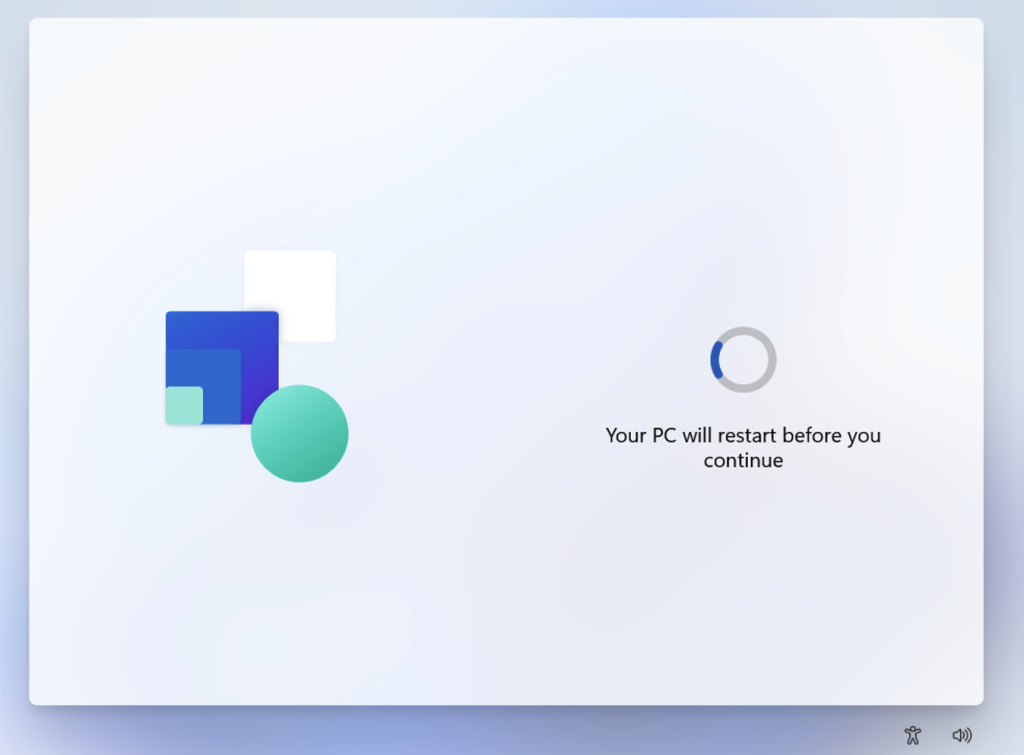
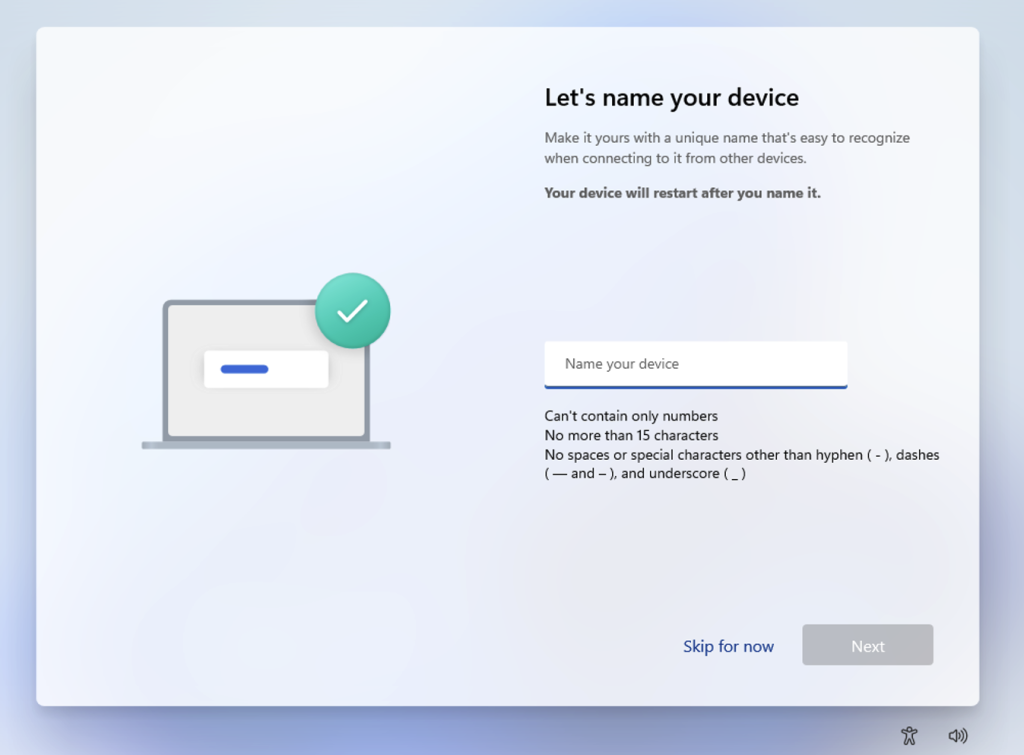
- Below are the next steps that you have to complete for the Windows Setup.
You may refer to the screenshots below.

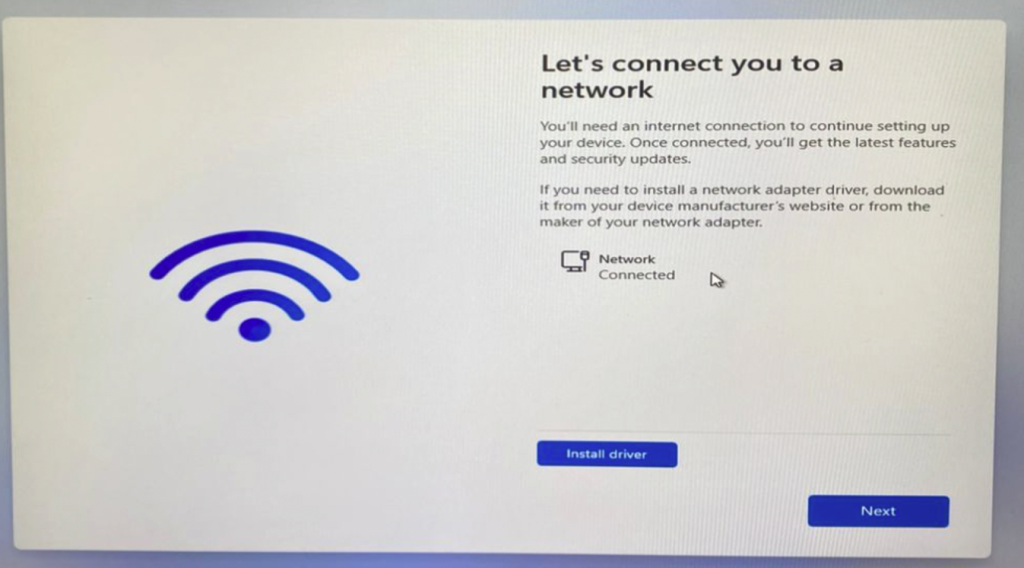
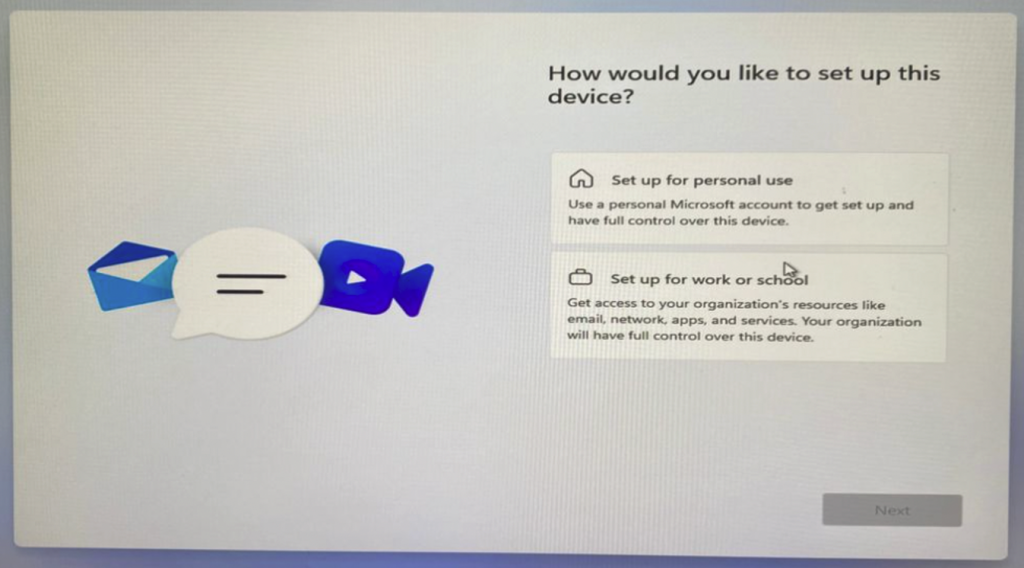
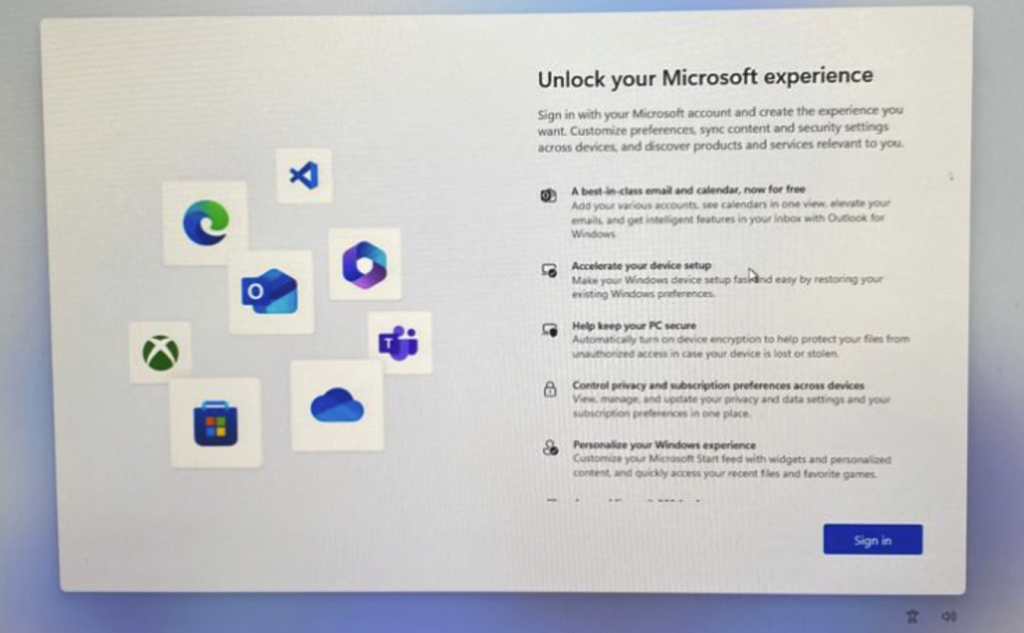
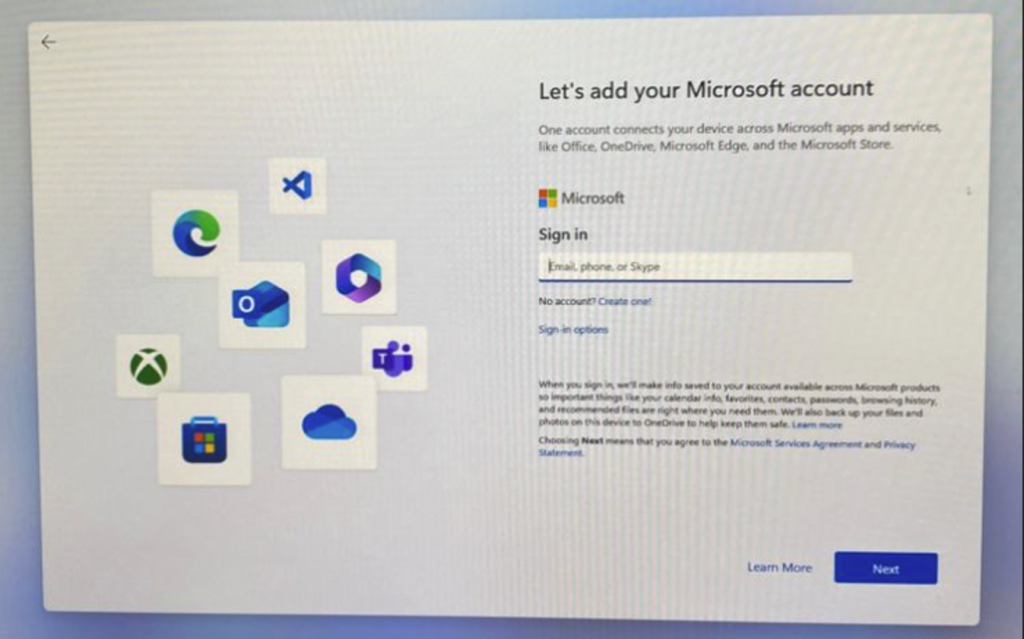
- If you are connecting to the internet, you will be navigated to login to Microsoft account.
- To proceed with local account, you may disconnect from internet connection.
- For this tutorial, we were proceeding the setup with local account by disconnecting the computer from internet.

Phase 3: After Reimaging Done
- Install Drivers: Use Windows Update or the manufacturer’s website to install the latest drivers.
- Install Updates: Check for updates via Settings > Windows Update.
- Reinstall Applications: Reinstall any software you need.
- Restore Backups: Copy back important files from your backup.